
Three days before I got Vegas, finally finished my dress this afternoon. Yikes!
Sometimes I think I am either incredibly lucky when I get things done so quickly, or incredibly silly for procrastinating in the first place!
Last week a gave an update of how this dress was going, which I’d started after signing up my my first craftsy course when I was looking for something an extra special to take off to Vegas as I would be out there celebrating my (gulp) 34th birthday.
I’ll pick up where I left off.
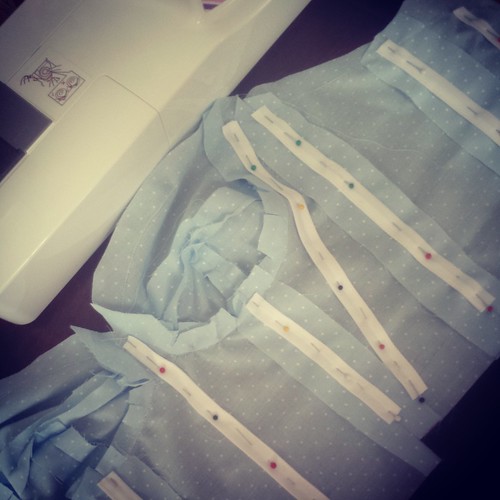
The bodice made, I started with the skirt, which is a faux sarong (which doesn’t have the extra flap underneath). It was relatively easy to put together with a lot of gathering to one side to give it the sarong look.
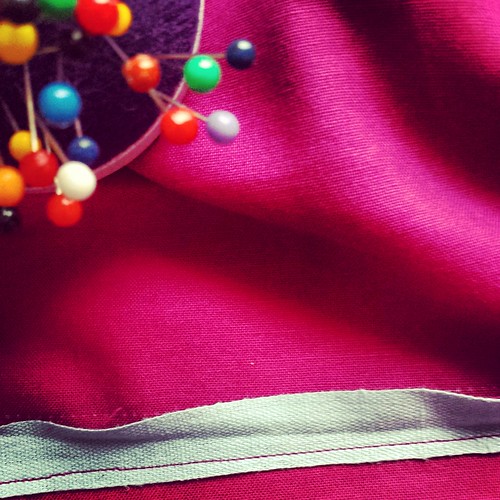
After sewing up the sides I pinned it to the bodice to see how it would look and I was so happy to see it looking gorgeous.
I have to say this is always my favourite part of sewing, when I can finally look at what the garment will become.
I don’t know why but it always does surprise me that I have managed to actually make something that looks like it’s meant to. You would have thought that almost a year in I’d be over it, but apparently not.
That’s the joy of making your own clothes though, isn’t it?

After this it was time to sew it in. Now, I know it was going to be a bit of a struggle with that amount of gathering to one side but armed with my seam ripper I knew that it might be a case of taking it apart and putting it back together again.
Which I did have to, as I got half way round (after holding my breath and hoping for the best) the doorbell went and local campaigners were asking if I have voted (which I had – at 7.30 that morning).
I look flustered, they apologised and I went back to the skirt, finished it then realised I’d not sewing in the sarong part properly and had to start over again.
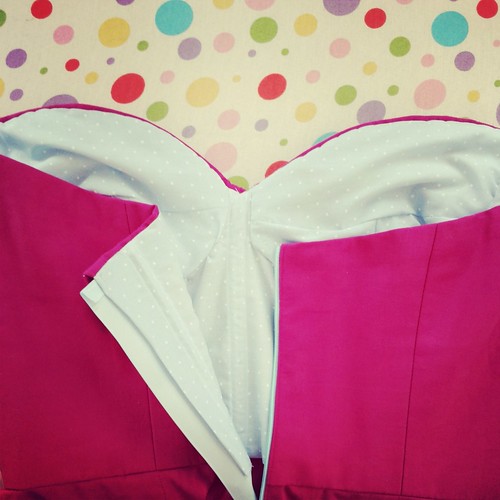
Which I did and when I had finished (round 2) it looked a little like this.
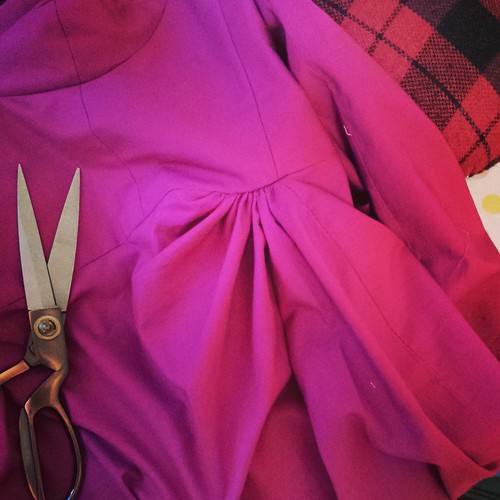
I’m not sure it even does it justice, there is a lot of material in that side gather!
It was then time to insert the zip. Now Gertie shows you how to do a lapped zip, something which I have done before but much to my own dismay it didn’t work out as neat as it could have done, so it was nice to go through this stage step by step.
Half the Zip in – success! When I went to sew the other side in however I nearly had a little cry. Zip woes!

I tried twice to do it by machine but I just could not get it right, and to be honest, I really prefer the hand picked technique for this, so in the end this is what I did. I think it just gives the outside a much better look that the row of stitching.
The next morning I had a little try on as I was super excited to see what it looks like, and I wasn’t disappointed.
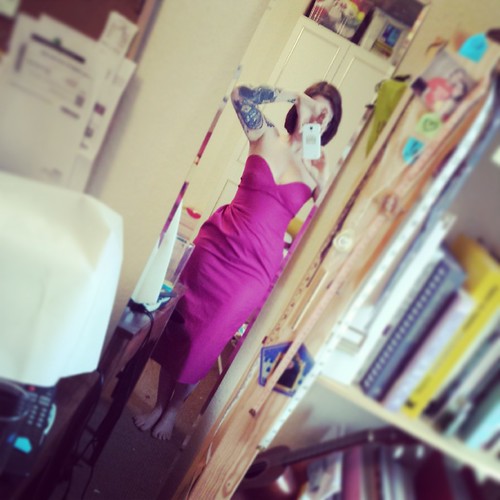
We were told at the beginning of this class that it would fit like a glove and it really, really does. So if anyone is about to embark on this class please make sure you measure it correctly.
The boning and lining was still to go on but I was so happy that I made the cups that little bit bigger because I was sure at this point that I would have been boobs out!
So on with the internal structure, lining and boning.
I normally don’t line my dresses, I don’t really know why, maybe laziness or more because when I have picked up vintage dresses many of them haven’t been lined, so all of this was new to me.
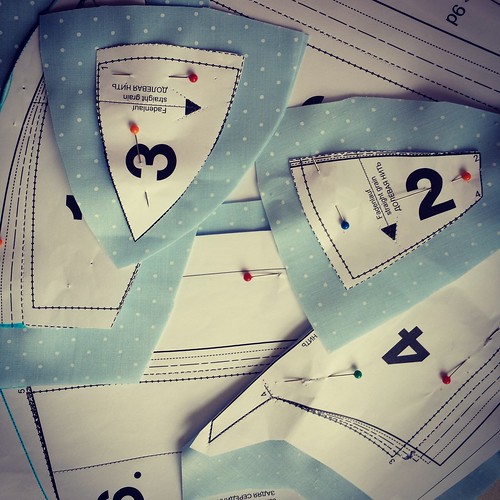
I went for a cotton lawn for the lining in a light blue with white polka dots. I cut out my pieces and spent an evening sewing them all together.
I have to say this was mildly frustrating as the cotton is so light I found it a bit tricky when it came to sewing the cups in.
They aren’t as perfect as I’d like them to be but I was tight on time by this point. A few hours later the lining was complete.
The next step was to add the boning. I was, by this stage, watching bits of the tutorial and stopping to do a bit of work, going back and pressing play.
I would say for anyone who would be taking this class to watch it through once at this stage and then go back from the start and sew along, as the instructions are a tiny bit higgeldy piggeldy and there are things you could do with knowing (or things it would make it easier to know) if you watched it all the way through to begin with.
Anyhoo, the boning channels were pinned and sewn in.
Then it was time to cut the boning down to size. I had chosen a variety of thickness and I thought I might need a little extra support around the bust area and I was glad that I did, but I did have a job cutting the larger pieces down to size (the chance of you getting any more than a couple of pieces pre-cut to the correct size is slim!).
This is fun, I thought when I first started snipping with much struggle with the wire cutters. I actually had to get Tim come and help me with the thicker bits I was no where near strong enough to get those bad boys done. Oh, and I didn’t purchase any extra end covers but I did manage to remove the ones already on the bits I had clipped and re-used them so all was not lost.

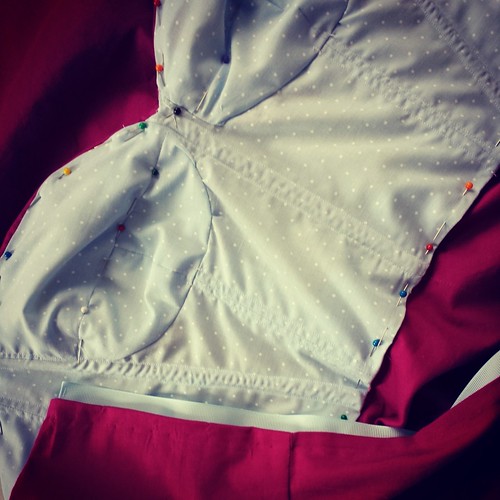
Boning clipped and in it was time to pin the lining into the bodice.
I was careful when I did pin it in not to pin right through the bodice (learnt my lesson from a long time of steaming and pressing out the puncture marks on the top of the bodice when I was making that up!) and ensured that everything lined up.
It this point Gertie mentioned using a piece of grosgrain ribbon for a zipper guard, which is a welcome finishing touch to the dress but I would have liked to know earlier that I would need an extra piece of ribbon which is double the size of that which I have for the waist stay.
I improvised and did the best I could with what I had and it did work out well.
This is a little bone of contention for this course.
There are times when things are not mentioned in the materials (such as this) or times when little tips are mentioned after the event.
Maybe it’s my ordered ind which getting a bit miffed when these things occur but as I am planning on making another couple of dresses based on this pattern then it is useful to add little notes at these stages reminding yourself of tips that would have been handier to know earlier.
I hand picked the zipper guard as I had done with the zip, being careful not to go through to the outside of the dress.
I then sewed the lining into the bodice and voila it was almost complete. Just the waist stay and hemming to go.
Doesn’t it look pretty! I did at this point stop for the day as my wonderfully patient husband had been waiting to hang out with me as he’s off to do newt based stuff on Monday so we won’t see each other until I get back from Vegas.
Now the structure is inside the dress I could see how much better it was going to fit and support me. Before this point I had had some serious misgivings about whether or not my juicy chest fruit would be particularly supported but now I had no qualms.
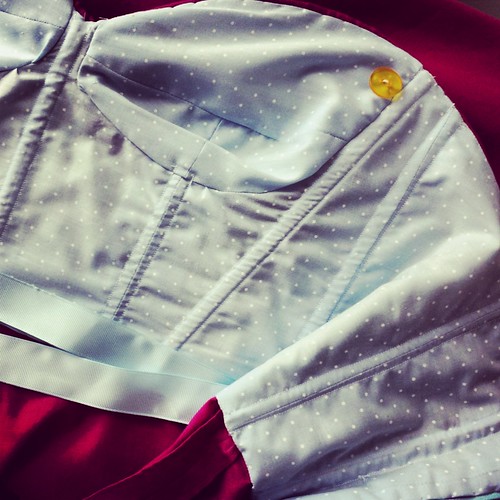
Next was inserting the waist stay and attaching buttons for the detachable halter strap. The strap is completely optional and this dress does hold up beatifully without it but if, like me, you plan on using this dress for other occasions where it might be better to add a little for more of a day wear look then straps are a perfect option. I do plan on wearing this dress to a wedding this year too, so a halter seemed a good way to go.
Unfortunately my buttons didn’t exactly match, I went for the thinnest ones I had due to the dress being so close to my skin so I had to go for these clear yellow ones – they will be replaced at some point.
All that was left to do after this was the hemming and finishing the skirt vent.
The instructions were relatively easy but I would have liked to know that I could finish the seams a little earlier where the zip is concerned as this caused me a lot of fiddling about.
The hem was finished with seam binding and then sewing on the back for an invisible finish.
I found some matching the light blue of my lining and waist stay in a box that my Nana had gifted to me, and I have to say the finish does look very pretty.
After this, there it was, my lovely dress, all complete.
There’s no final photo in this post as I plan on doing a few posts from Vegas so you’ll have to see the complete outfit post then, I don’t want to ruin everything, and me at the end of a two day sewing marathon to get this finished, in my scruffs, with my hair all pinned back would not have done it justice!
So in summary, I have really enjoyed this craftsy course and I am hooked!
I will definitely be taking more classes, there aren’t so many local ones around my neck of the woods so I’m really looking forward to bettering my skills and making this dress in different variations again soon.
If anyone is considering it I’d say go for it, you can do it, and I’d really like to see what you make!

Wow! Great to see you make the journey from component parts to fabulous dress. Looking forward to Vegas pics too! 🙂
cheers chook 🙂
it’s looking amazing! can’t wait to see the final pics!
thanks doll 🙂
That dress looks amazing. Your hard work has certainly paid off. I have never worked with metal boning before but looks like it will give a much better structure than the typical nylon precovered boning in my sewing box. I love the fact that you handpicked the zipper, gives it the couture look it deserves. I will anxiously await your post from Vegas to see it in all of it’s glory.
Thank you!
Your dress looks fabulous– you’re doing an amazing job with it! (I’m doing Gertie’s Bombshell jacket.)
thank you, is that the one from the book? how’s the fit? have heard some good and bad things so I haven’t madw anything out if mine yet!